Overview
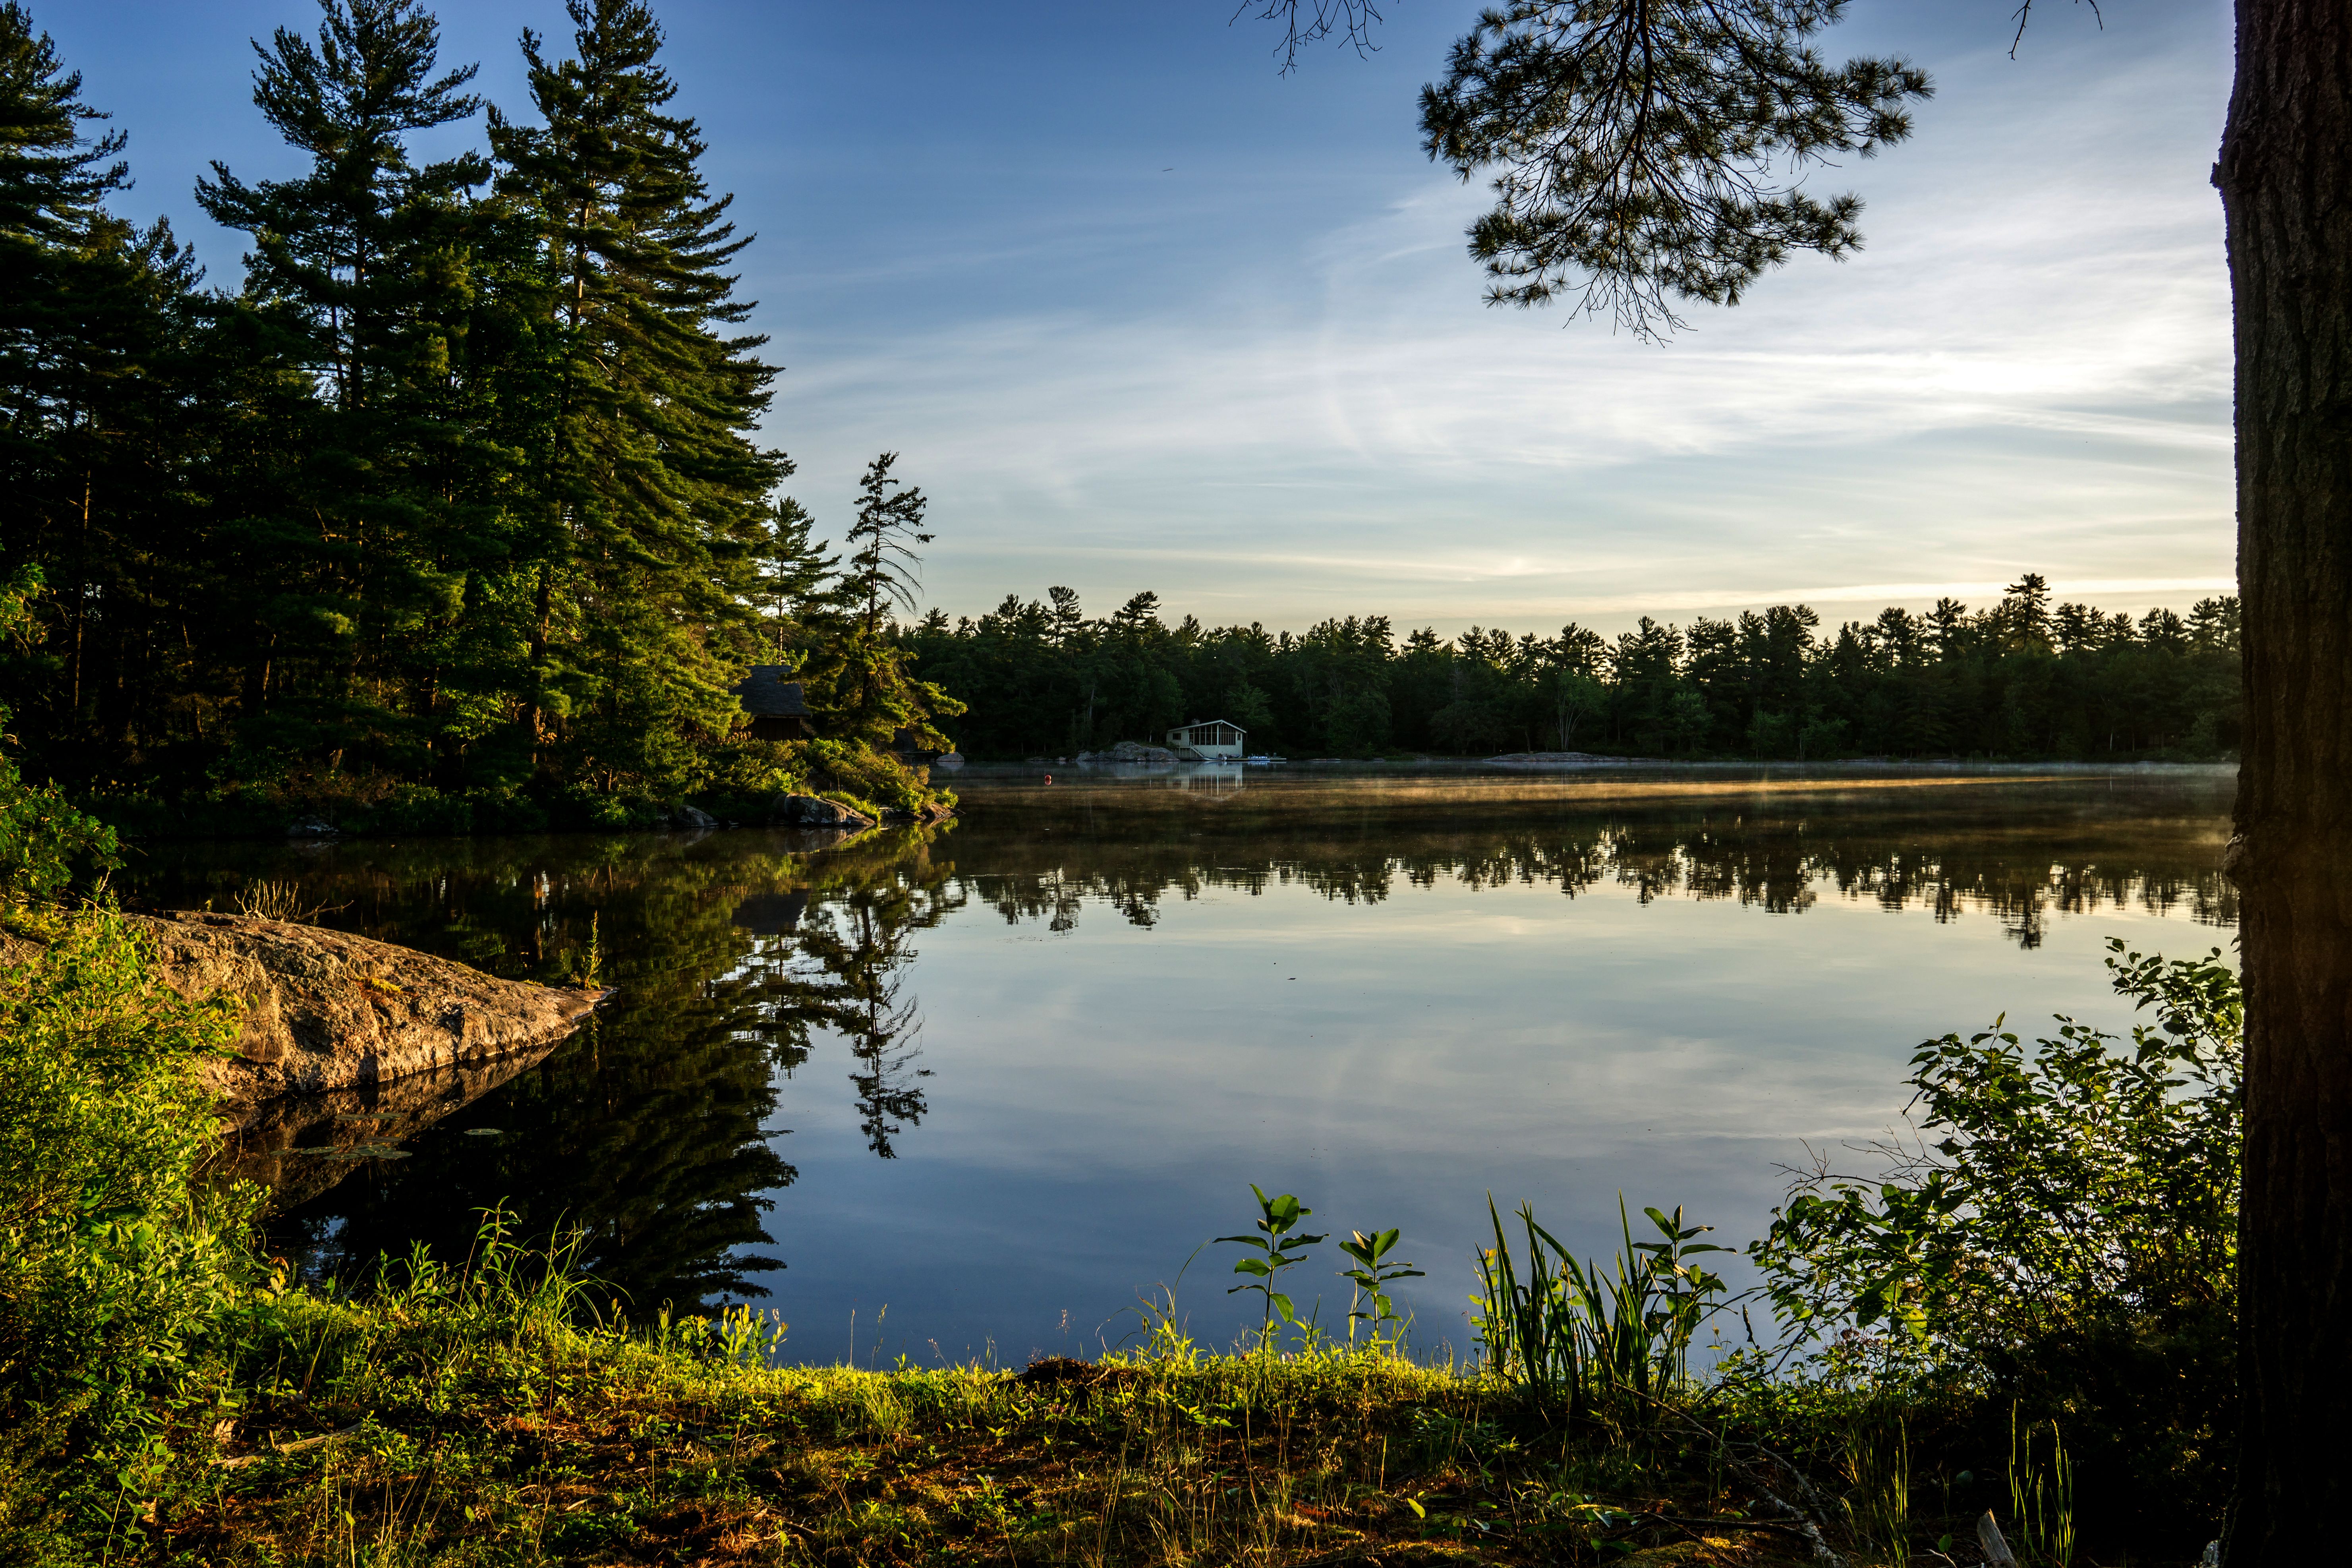
This guide aims to explore basic photo editing techniques in Open Darkroom, oriented around improving decent quality images. This is not a guide to artistic minipulation of images, or recovery of poor quality images, nor is it a detailed guide on each tool mentioned.
Terminology
- Pixel: The base unit of image information. Images are made up of thousands of tiny boxes, called pixels (short for Picutre-Element).
- Highlights: the bright areas of a picture.
- Shadows: the dark areas of a picture.
- Blacks: specificlly refers to the absolute darkest possible color.
- Whites: specificlly refers to the absolute brightest possible color.
- Dynamic Range: The range from the darkest black the brightest white.
- Luminance (Luma): refers only to the brightness information in the image, a grayscale image contains only luminance information. Also refered to as value.
- Clipping: clipping is the loss of image information as a result of image data going beyond the available dynamic range.
- Washed out: refers to the undesirable effect when part of the image is brighter than it should be. Washed out blacks look gray, and washed out highlights cause clipping.
- Crushed Shadows: when image data is clipped as a result of the dark areas being darkend too much.
- Blown highlights: washed out highlights.
- RGB: Short for Red-Green-Blue. Pixels contain a red, green, and blue color value.
- White Balance: refers the the appeance that objects that should be neutral/gray have color.
Black Level & White Level

The Black and White Levels are amongst the most important tools available when editing images. They allow the editor to strech the dynamic range to fully utalize the images information. The goal is to strech the darkest black in the photo to the darkest black stored in the image, and the same for the brightest. Failure to correcly utalize the dynamic range can cause image information to be lost to due to clipping, or cause the image to look dim or washed out.
 Washed Out Shadows & Dim Highlights.
 Correctly Utalizes Dynamic Range.
 Clipped Blacks and Whites, Loss of detail.
Note that if the original image contained clipping, then it is impossible to regain the lost information; however it is usually easier to recover an underexposed image than an overexposed one.
Gamma

Gamma controls the brightness of the shadows and low-midtones inside the dynamic range without affecting the white and black levels. Gamma is the first non-linear adjustment to be discussed, meaning that it does not apply a fixed transformation to each color. The change in the pixels value depends on its original value.
 Gamma too low, shadows and midtones appear too dark.
 Just right, the brightness of all colors appears natural.
 Gamma to high, shadows appear unrealisticly bright.
Notice how the highlights and very dark shadows are unaffected by the gamma adjustment. Gamma can also relate to color space, but that is beyond the scope of this article.
White Balance (Temperature and Hue)

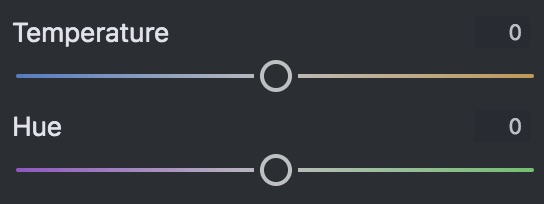
White Blanace ensures that gray colors remain netural. It is adjusted in two ways:
- Temperature: Blue-Orange
- Hue: Magenta-Green
 White balance too warm, highlights appear yellow/orange.
 Just right, all colors appear natural.
 Hue too magenta.
Setting the proper White Blanace can be very difficult, so usually it is best to try to set the cameras white balance when taking the picture. Most DSLR/Mirrorless Cameras allow you to set the white balance by taking a picture of neutral gray card.